

Those of you who have read my blog before will know I love to make things. So much so, that for my own wedding I made as many things as I possibly could. From customizing my dress, the stationary, the jewellery and the favors (just a few of the elements) it was really important to me that as much as possible had a hand made touch.
I was however fascinated by the idea of
making my own cake, but at the time lacked the confidence to undertake this
daunting task. In the end I opted for a fantastic Chockywockydoodah creation,
which turned out to be one of my favorite purchases, but I continued to be
curious surrounding how ‘normal’ people go about making a wedding cake. Even
simple things, like getting the icing smooth and shiny were a complete mystery
to me!
Then, along came Stefi Jakab and her
fabulous cake decorating class. I’ve already written about this fantastic
experience in my blog ‘Have your cake and eat it’, as this class gave me the
confidence to undertake something I would never have thought myself capable
of…after her lesson it occurred to me that it wasn’t as hard as I’d feared.
Like some kind of divine serendipity, the
very next week I received a phone call from my best friend who was getting
married. I asked her about her cake and she told me that she had decided not to
bother, given the expense associated. This was it…the opportunity to make a
wedding cake!


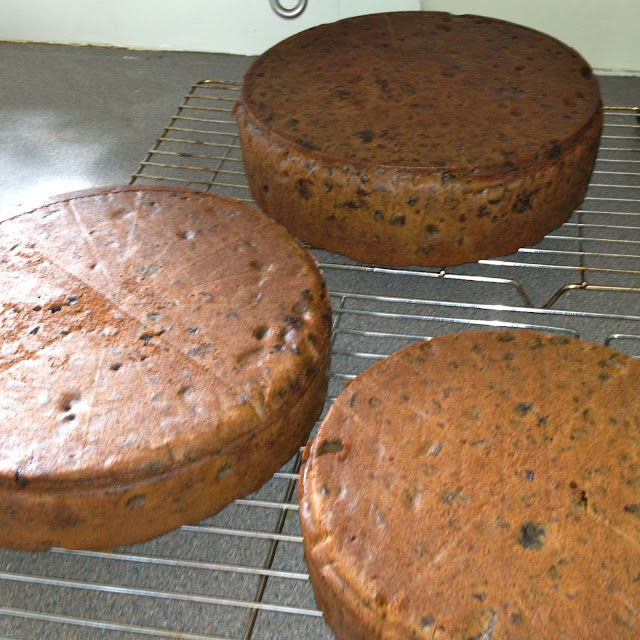
So I offered my services and set about
doing the best job I possibly could. The first step was making the cake itself.
She wanted a fruitcake so I took advice from all around for the very best
possible recipe, and 5 weeks ago I made it. This allows time to feed the cake,
making it really moist and indulgent when finally eaten. It also helps to
preserve it, and a good cake can keep for up to a year….


I diligently ladled brandy over the cake
once a week for the weeks that followed, taking care to heat the brandy gently
before, which aids absorption. You should also NEVER skewer holes into it as
this just helps the cake to dry out from the center.
During this time I also researched patterns
and assembled all the tools I needed. Baking (I’ve discovered) is like most
things. It’s all about having he right tools and through the joys of eBay I
developed a sugar craft kit that Delia herself would be proud of.
With vintage inspired as a vague brief, I
set about developing my design and I decided early on that I wanted my three-tier
creation to have different layers. The bottom had to resemble some hind of
base, and after trawling the Internet for inspiration; I came across a
wonderful tutorial to create ruffles.
 Texture was also important to me, which led
to my decision for the second tier. Quilting is an easy visual effect to create
with the aid of a steady hand and a perforator, and provided the perfect
compliment to the ruffles on the base.
Texture was also important to me, which led
to my decision for the second tier. Quilting is an easy visual effect to create
with the aid of a steady hand and a perforator, and provided the perfect
compliment to the ruffles on the base.


Finally, I needed a pièce de résistance for the top tier. Wild flowers were a key part of the wedding, which lead me to use little fondant daisies as accents on the bottom two tiers. I wanted to continue the theme with the top, so I opted to cover the whole tier in a mass of pearlised, glitter daisies.


I, and the bride were very happy with the
result and I can’t thank Stefi enough for her support and encouragement. I now
can’t wait for my next sugar craft challenge and look forward to developing my
skills and sharing my creations with you all…
I leave you with this…if you want to learn
how to do something, just get stuck in and give it a go!
No comments:
Post a Comment